Running JunOS under VMWare (updated – again!)
Interested in trying out JunOS? Can’t afford to build a real Juniper lab? Sounds like you need some Olives. No, we’re not talking about the green fruit commonly seen in a martini glasses across the nation. Olive is the codename name given to JunOS software running on something other than a Juniper router. It can either run on a PC of similar specifications to a Routing Engine, with no forwarding hardware (or PFE) attached, or inside a Virtual Machine (VM). If you took a Routing Engine out of a Juniper router and booted it in a blade server chassis, it would effectively be an Olive.
This guide is to help you run Olive inside vmware to create a virtual Juniper router lab. You can also extend your lab to dynamips (Cisco Emulation), or other router VMs that you may have. My screenshots will be from VMWare Fusion on Mac OS X, but should work perfectly well, possibly even better (since you’ll be able to setup multiple interfaces) on VMWare Server. At some point, I would like to test using VMWare ESXi as well.
As far as ESXi is concerned, this only works on 4.0 which requires x64 hardware. I’m out of luck and stuck running ESXi 3.5 for now.
Software
The first step is obtaining a copy of JunOS. I recommend using 9.4 (jinstall-9.4R1.8-export-signed.tgz) or higher as earlier versions had issues with multicast working properly under vmware. Do not ask for me for copies of JunOS Since JunOS runs top of FreeBSD, you will also need to download the FreeBSD 4.11 mini .iso from the FreeBSD FTP site.
Setting up your Virtual Machine
Our initial settings should be something along the lines of …
- Disk – IDE 4gb
- Memory – 512MB (you can reduce later to 128MB (or less ( untested ) ) )
- Interface – NAT or Shared ( up to you )
- CD/Optical – Point to the FreeBSD ISO
Installing FreeBSD 4.11
Feel free to skip the custom kernel config
Standard Install
On fdsik screen select a (use entire disk) then q (finish)
You can use the default FreeBSD boot manager
[singlepic id=194 w=100]In the BSD Disk Label Editor, use the following setup.
ad0s1a     /               512M
ad0s1b     swap            1024M
ad0s1e     /config         12M
ad0s1f /var the rest- Next it will ask you which distribution set you wish to install. Go with User, and do not install the ports collection.
- On the next screen, choose CD as your media for install. It will then ask if you you’re sure you wish to proceed. Choose yes, unless you’re scared.
Post Install Config
After the install, you’ll be taken through some configuration options…
Config Ethernet: Yes
Select em0
Config IPv6: No
Config DHCP: Yes
Network Gateway: No
Config Inetd: No
Config Anonymous FTP: No
Config NFS Server: No
Config NFS Client: No
Select Default Security Profile: No
Customize System Console: No
Set Time Zone: Yes/NoIts really up to you if you want to do this…
Enable Linux Binary Compatibility: No
Non USB Mouse: No
Browse Package Collection: No
Add Accounts: Yes
General Configuration Menu: No
After the post install config, you will be taken back to the sysinstall Main Menu, go ahead and exit / reboot
On the first boot, it may hang here for a moment, be patient..
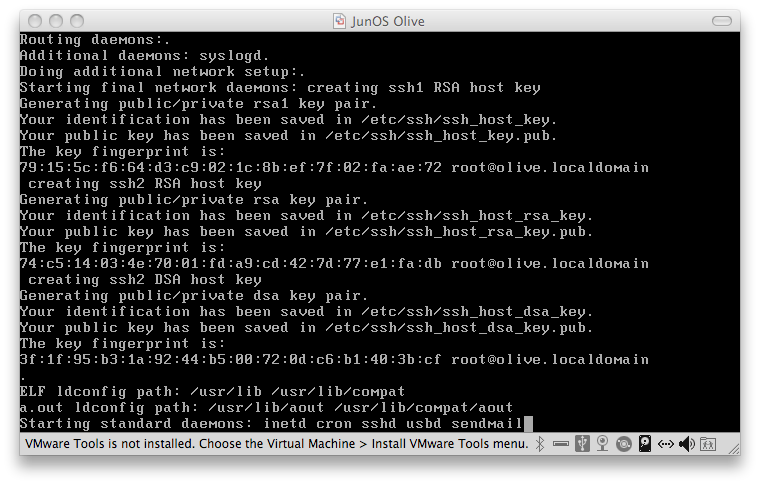
Preparing and Installing JunOS
Ok, now that we have a working FreeBSD installation, we need to copy our jinstall image over using the account we created. Use ifconfig to figure out your DHCP address and scp the file over.. go ahead and put it in /var/tmp
In order to install JunOS, we have to circumvent some things.. Juniper has installed a binary in JunOS packages since version 7.4 called checkpic. This binary will fail during install and and interrupt the process. Extracting the package and replacing this binary with /usr/bin/true and repackaging fixes this issue.
cd /var/tmp
mkdir jinst-signed
cd jinst-signed
tar zxvf ../jinstall-9.4R1.8-export-signed.tgz

mkdir jinst
cd jinst
tar zxvf ../jinstall-9.4R1.8-export.tgz

mkdir pkgtools
cd pkgtools
tar zxvf ../pkgtools.tgz
cd bin
cp /usr/bin/true ./checkpic
cd ..

tar zcvf ../pkgtools.tgz *
cd ..
rm -rf pkgtools

tar zcfv /var/tmp/jinstall-9.4R1.8-export-olive.tgz *
Install your new modified jinstall package.
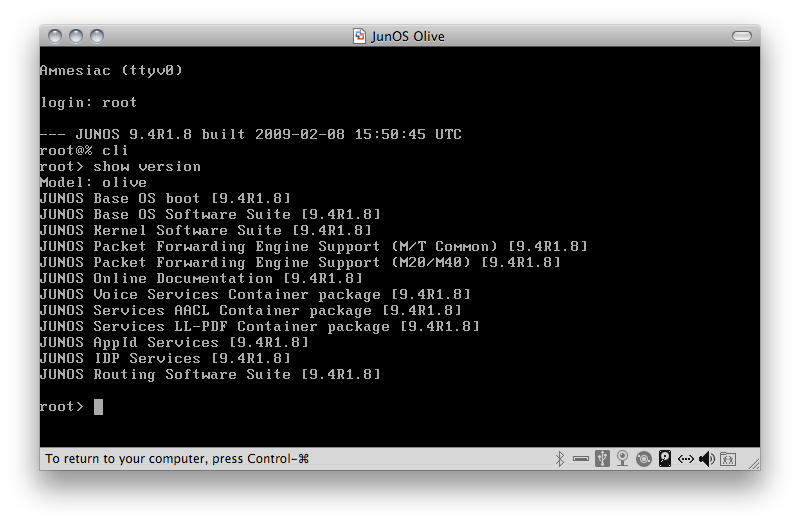
pkg_add -f /var/tmp/jinstall-9.4R1-8-export-olive.tgzAfter it has finished, go ahead and issue a normal reboot command. Upon reboot, you may think the VM is hung, but its just fine. It is no longer outputting kernel messages to the screen, behind the scenes the JunOS install is completing and will reboot when finished. You will be able to login in a few minutes.
Update – 11/8/2009
VMware Server Users have had some issues with the secondary install (1st reboot after jinstall) hanging on the following line.ad0: 32768MB <vmware Virtual IDE Hard Drive 00000001> at ata0-master UDMA33
The simple fix for this is to edit the appropriate VMware configuration file ( whatever.vmx ) and change the line that reads.
scsi0.present = "TRUE"to
scsi0.present = "FALSE"Since JunOS has no support for SCSI devices, this prevents it from hanging when one is present. Many thanks to the commenters that suggested this fix.
Post Install
To tell the boot loader to send kernel messages to the video console is simple. Just edit the file /boot/loader.conf and change the line that reads….
console="comconsole"to
console="vidconsole"
Conclusion
While this is far from a perfect solution ( at least under VMWare fusion.. ) It works quite well for getting your feet well in the JunOS environment. If you have any issues with getting this setup, feel free to comment below and I’ll try to point you in the right direction.
Also many thanks to everyone from the ineternetwork pro wiki, without their guide on qemu I would’ve been completely lost.
New posts in your inbox when they publish. No digest, no marketing.