Setting up Apple Filing Protocol and Bonjour under Debian
Got a Mac ? Got a Linux box that you use as a file server on your home network? Sick of problems with samba? So was I, until today when I decided to figure out how to setup Apple Filing Protocol (AFP) and Bonjour under Linux, debian in my case. In the following tutorial, we’re going to install and configure, Netatalk and Avahi. I’m also going to show you how to create a TimeMachine backup location on your file server, and get your Mac to recognize / use it.
Building Netatalk
Netatalk is the Open Source implementation of AFP. Since Mac OS X requires encryption to work properly, and the standard netatalk package doesn’t include this feature. So we are going to build our own netatalk package from source with encryption enabled. To start, we’re going to download install dependencies for netatalk. Then ensure we install the dependencies for encryption support, and finally grab the source for netatalk.
sudo apt-get build-dep netatalk
sudo apt-get install cracklib2-dev fakeroot libssl-dev
sudo apt-get source netatalk
Now that we have source we can move into the netatalk directory. The first thing we need to do is change the version number on the package, then we can build the package with encryption enabled.
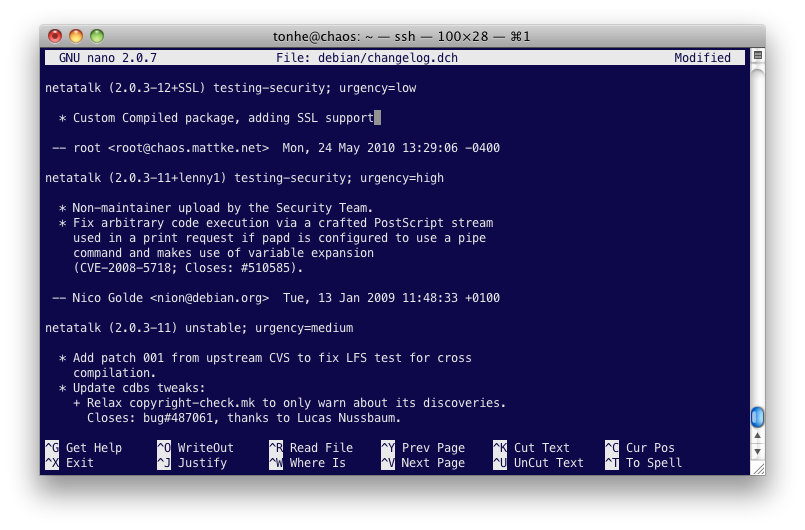
Your version numbers may differ, but please increment, and use +SSL in order to differentiate your custom package from the standard Debian one…the head command will output the current package version for you. In my case, it showed netatalk (2.0.3-11+lenny1)
cd netatalk-2.0.3
head -n 1 debian/changelog
dch -v 2.0.3-12+SSL
This will take us into an editor to add notes, feel free to add a comment stating that this is a custom package compiled to add SSL support. To exit the editor, press
Now that our version information has been saved into the package. We can start our compile.
sudo DEB_BUILD_OPTIONS=ssl dpkg-buildpackage -rfakerootThis could take a couple minutes… Go grab a bee_^H_verage.
Once completed, hopefully without errors (the ones about being unable to sign the package are ok) you should have a netatalk-2..something.deb package in your home directory. Now, we need to install it, and place a hold on it to prevent apt from replacing it with a version from the Debian repository. To do so, enter the following commands.
sudo dpkg -i ~/netatalk_2*.deb
aptitutde hold netatalk
Configure Netatalk
The first thing we are going to do, is disable some services provided by netatalk which are not need for just file sharing. This will speed up the startup and response time of netatalk significantly. In the following examples I’ll be using Vi, but feel free to fire up your favorite text editor.
sudo vi /etc/default/netatalkLocate the following startup options and change them as noted below. If you’re also interested in sharing a Linux connected printer, enable the pap daemon aswell.
PAPD_RUN=no
CNID_METAD_RUN=yes
AFPD_RUN=yes
TIMELORD_RUN=no
A2BOOT_RUN=no
The cnid_meta daemon service handles all the metadata for us which would get lost since your Linux box isn’t formatted as Apple’s HFS+. Go ahead and save an exit this file, and lets move on to the afpd.conf file.
sudo vi /etc/netatalk/afpd.confAt the very bottom of the file you should see a line similar to the following line. Replace it with the following, save and exit.
Configuring shared volumes
The next step is telling afpd what volumes we want to share. This is configured in the /etc/netatalk/AppleVolumes.default file.
Scroll to the bottom of the document and define your shared volumes. There should already be a line starting with ~/ allowing the sharing of home directories via AFP.
~/ "$u" cnidscheme:cdbYou can setup as many shared volumes as you wish. You can even define which users are allowed to access each share. You do this using the allow option. On my server, I have the following setup for my mp3 collection.
/server/mp3 mp3 allow:tonhe,jessiSince you’ll probably want to use your file server as a time machine backup, we can also define a volume just for that. Create a directory, and set it up using the following line.
/home/USERNAME/TimeMachine TimeMachine allow:USERNAME cnidscheme:cdb options:usedots,uprivThe usedots option is required if you want to use hidden files and folders starting with a period. Without usedots, afpd would encode them as :2e which is incorrect. If you’re on Leopard and have no Tiger installed Macs in your network or mixed OS X versions in your network you should use the upriv option which adds support for AFP3 unix privileges. If you have Macs with Tiger installed just use options:usedots to avoid unexpected behavior. Finally if you want more stability and can accept slower file transfers you can use the dbd cnidscheme (cnidscheme:dbd).
Once you’re done setting up your shared volumes, restart netatalk using the init.d script.
sudo /etc/init.d/netatalk restartEven so we have a fully configured AFP it will not show up in the Finder sidebar on OS X, it is however reachable via ‘Go -> Connect to Server’ in Finder). OS X use a service called Bonjour for automagic discovery, which displays the server on your sidebar. Linux can emulate this functionality with an open source implementation of Bonjour called Avahi.
Installing Avahi
Avahi is the daemon that will advertise all defined services across your network just like Bonjour does. We are going to install the avahi daemon and the mDNS library used for imitating the Bonjour service. When fully configured this will allow machines running OS X in your network to discover your Linux box automatically.
sudo apt-get install avahi-daemon
sudo apt-get install libnss-mdns
Our configuration starts with the /etc/nsswitch.conf file. Simply add “mdns” to the end of the line that starts with “hosts:” – when completed it should look something like this.
Now we have to tell Avahi which services it should advertise across the network, in our case we just want to advertise AFP volumes. This is done by creating a XML file for each service in the /etc/avahi/services/ directory. Create the file /etc/avahi/services/afpd.service and insert the following XML code.
<br />
<br /> <service-group><br /> <name replace-wildcards=“yes”>%h</name><br /> <service><br /> <type>_afpovertcp._tcp</type> <port>548</port> </service><br /> <service><br /> <type>_device-info._tcp</type> <port>0</port> <txt-record>model=Xserve</txt-record><br /> </service><br /> </service-group><br />
The only thing left to do is restart Avahi.
sudo /etc/init.d/avahi-daemon restartThats it, you have configured the Avahi daemon to advertise AFP sharing across your network which should cause any computer running OS X to automagically discover it. Within a few moments it should show up in your Finder’s sidebar. You should be able to connect using the username and password from your Linux box. Once connected you should see the Volumes we defined in the AppleVolumes.default file.
Configure Time Machine
Your Mac needs to be configured to allow Unsupported Network shares to be used for time machine. This option is only configurable (like many things) from the terminal.
defaults write com.apple.systempreferences TMShowUnsupportedNetworkVolumes 1Now, just simply mount the TimeMachine volume, and choose it as the backup disk in the Time Machine system preferences. Time Machine will create a sparsebundle disk image inside the volume and mounts that too, since your drive is not formated using the Mac native format HFS+. Because Time Machine backups everything to the disk image all metadata, like creation dates and such, will be preserved.
When your first Time Machine backup is done you can remove all Volumes and the next time Time Machine starts it will automagically mount the disk image from your TimeMachine volume on your Linux box without mounting the whole TimeMachine volume.
Thats it
As you can see, its pretty simple to setup AFP under Linux and relieve yourself of all your samba woes. Obviously I could of used NFS instead of AFP, but from what I’ve been told, nothing beats AFP speed and reliability. As usual, if you have any problems, or questions feel free to comment below.
New posts in your inbox when they publish. No digest, no marketing.